
How to Add Subtitles to Your Podcast Video Before Publishing


You’ve recorded and edited your podcast video and it is ready for publishing. But wait, have you added subtitles yet?
As a marketer, you know the importance of accessibility and reaching as wide an audience as possible.
Adding subtitles to your podcast videos is a way to create corporate videos that reach a wider audience and boost engagement.
While the process of adding subtitles may seem daunting, modern tools have made it simpler to add subtitles to your podcast videos.
In this article, I will walk you through the step-by-step process of adding subtitles to a podcast video using user-friendly software.
Let’s get started!
Why Should You Add Subtitles to Podcast Videos?
You can add subtitles to podcast videos to enjoy several key benefits, including:
- Accessibility for Hearing-Impaired Viewers: When you add subtitles to podcast videos, you make your content accessible to those with hearing impairments.
This set of viewers often rely on captions to understand the dialogue when watching podcasts on video players.
- Accessibility to Wider Audiences: Subtitles in multiple languages expand your potential viewership globally.
Even if someone does not speak the language in your video, subtitles in their native tongue will allow them to follow along and understand the content.
- Improved Search Engine Optimization: Subtitles provide search engines like Google with more text to understand and index your videos.
The additional text helps search engines better determine what a video is about, which can improve its ranking in search results.
- Increased Viewer Engagement: Subtitles make it easier for viewers to understand and follow your message, making them more likely to watch the entire video.
Step-by-Step Guide to Add Subtitles to Podcast Videos
Now that you understand the importance of adding subtitles to podcast videos, let’s proceed to the step-by-step process of how to do it.
Step 1: Choose Subtitling Software
There are several paid and free video editing software for subtitling your podcast videos. These tools allow you to upload a video, transcribe the audio, add timestamps to synchronize the subtitles and export the finished subtitles.
Here are a few tips to guide you in choosing the best software to add subtitles to podcast videos:
- Transcription Accuracy: Look for software tools that provide accurate automatic transcription and subtitles.
- Customization Options: Opt for a software solution that allows you to customize the appearance of subtitles. This includes options for font size, style, color, and background.
- Multilingual Support: If your podcast has an international audience, consider a software solution that supports multiple languages.
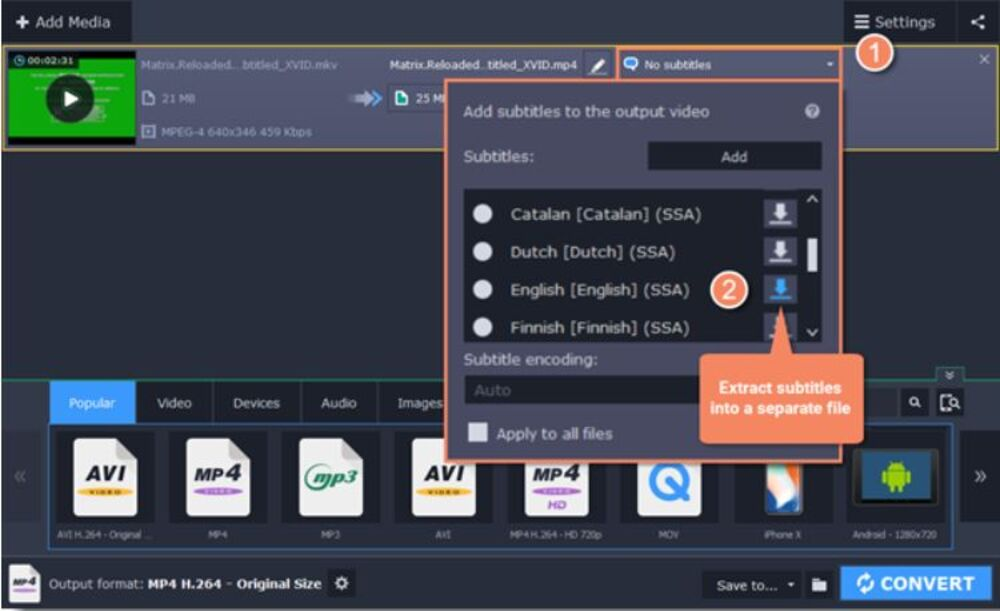
For example, Movavi allows subtitles to be embedded into podcast videos or extracted in several languages.
- Export Options: Ensure that the tool exports subtitles in commonly used formats like SRT (SubRip), VTT (WebVTT), or others compatible with the video hosting platform you use.
- Consider your budget: Choose a solution that fits within your budget Also, consider your transcription needs to determine if a subscription-based model will be more cost-effective for you or paying per hour of transcription.
Step 2: Transcribe and Time the Subtitles
Before adding subtitles to a podcast video, you need a written transcript of your podcast episode. You will need to transcribe the audio from your video into text for the subtitles and time each subtitle to match the pacing of the speech.
A professional transcriptionist can help you to transcribe it manually. To do this, you have to listen to short sections of the audio, type what is said, and mark the start and end times. Then, place the text over the video at the correct time marker.
You can also use automated transcription software that offers intuitive tools to edit videos on Mac and Windows devices.
Upload your podcast video to the chosen software and transcribe it automatically.
For example, speeches are processed by Rev’s automated transcription technology, which uses an algorithm to understand words and translate video files to text.
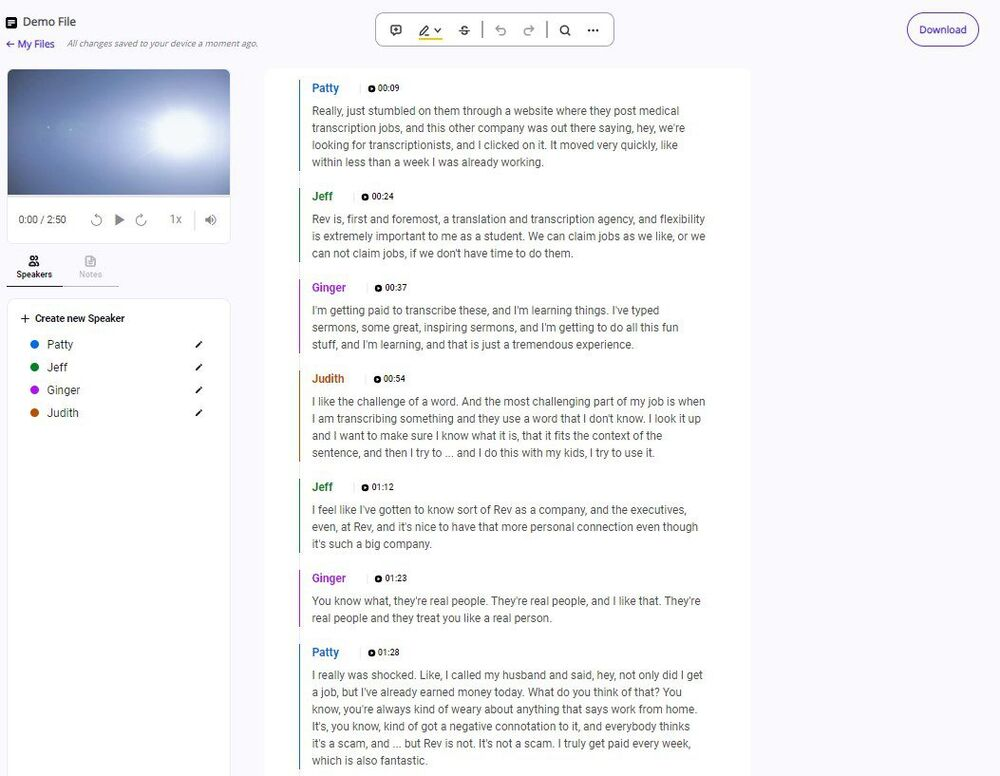
For easier editing, number each subtitle. This allows you to easily navigate to a specific subtitle to make changes. It also helps keep subtitles in the proper sequence if they get rearranged during editing.
Step 3: Edit and Format the Subtitles
Once the bulk of the transcription is complete, review and edit your work. Double-check that the text matches the audio accurately and that there are no spelling, grammatical, or punctuation errors.
Then, you can customize the appearance by choosing a font, size, color, and background. It helps in increasing the user engagement rate automatically.
I recommend using a sans-serif font like Arial or Helvetica in a medium size with a solid background color for maximum readability.
For a smooth viewing experience, aim for subtitles to appear on screen for a minimum of 3 seconds and a maximum of 7 seconds.
Step 4: Add the Subtitles to Your Podcast Video and Publish
With the subtitle track complete, it’s time to make your podcast video accessible.
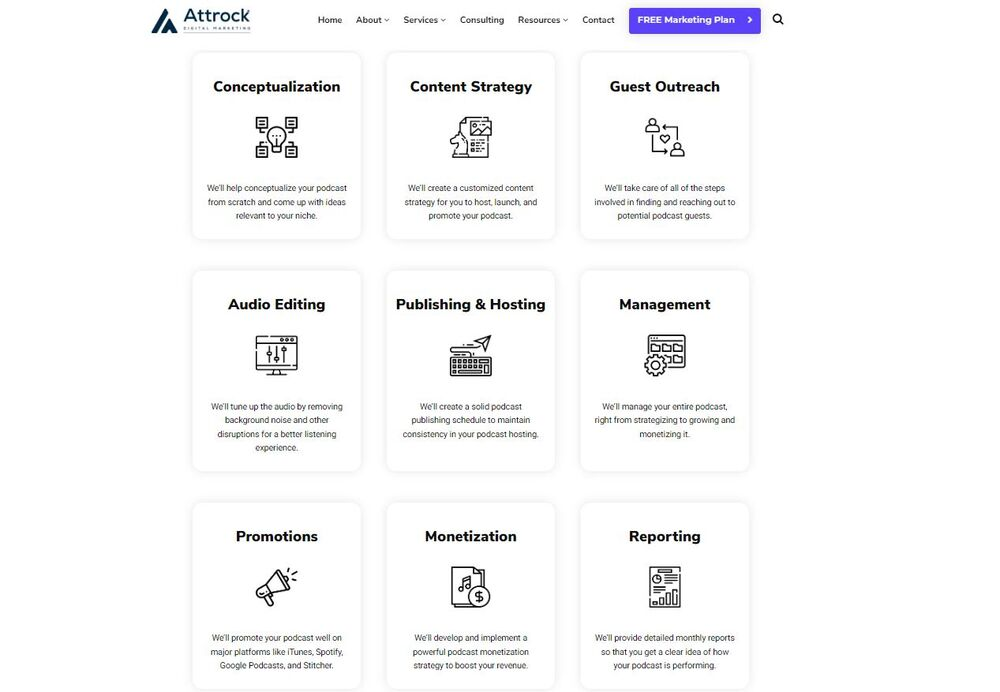
With the help of podcast launch services by a company like Attrock, you can launch your podcast from scratch.
You can leverage podcast import synchronization and launch features to create your own podcast. You can then edit, publish, and promote your podcast to reach your target audience.
However, using video subtitling software can also allow you to add the subtitles directly to your video file. This embeds them permanently into the video. You can then upload your videos with subtitles to your website, social media platforms, and podcast hosting platforms.
Conclusion
As you have seen, adding subtitles to your podcast videos before publishing them is not difficult. With some basic tools and a few simple steps, you can make your content more accessible and engaging for a wider audience.
With practice, the process will become second nature and a seamless part of your video creation workflow.
I hope you find these steps helpful. Have any questions? Leave a comment.